Appearance
Working with Batch Queues (BQ.E2) in RoverERP
2 min read
AdministrationResolution Steps
Defining or Amending a Batch Queue
Description:
Enter a description for the batch queue being defined or amended.
Type:
- Select Public to allow general users to submit jobs to the queue
- Select Administrator to restrict job submission to administrator users only
Access Status:
- Set to Open to allow users to submit jobs
- Set to Closed to prevent job submission
Multi-Processor:
Enable if you want more than one batch service to run jobs in the queue simultaneously. Leave disabled if jobs must run sequentially.
Max Status Saves:
Specify how many entries of job history should be retained for the queue.
Resetting the Batch Queue:
If a job does not complete correctly and the queue needs to be reset, check the Active Service section. If a value is present, press the Reset button to reset the queue.
Viewing Jobs:
The main display shows all jobs defined within each batch queue, including run details and status.
Defining a Job for a Batch Queue
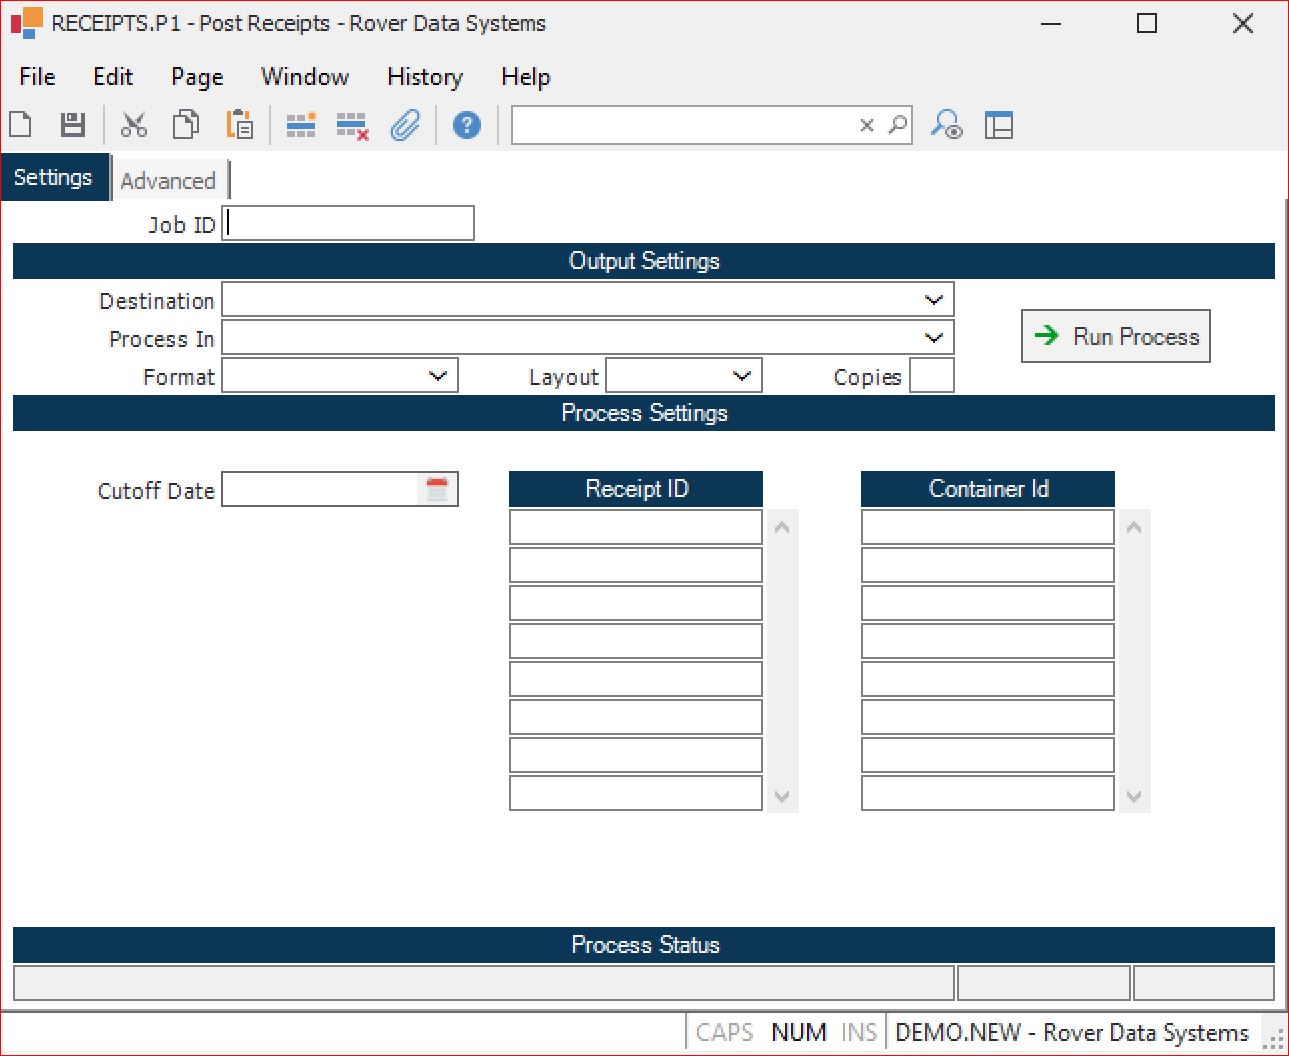
Job ID:
Enter a new or existing Job ID. Use the naming convention: procedure command + B (e.g., RECEIPTS.P1B for the post receipts procedure). Enter an existing ID to amend an existing job.
Destination:
Leave as the default value unless output needs to be sent to a system-defined printer.
Process Settings:
Enter any required values or system variables for the job (optional). Supported variables include:
- @SD – current date
- @WSD – week start date
- @WED – week end date
- @MSD – month start date
- @MED – month end date
- @YSD – year start date
- @YED – year end date
These variables can only be used in service jobs, not in standard procedure execution.
Save the Job:
After entering all required values, save the job run procedure attributes. When the Action window appears, select the Save button. The job is now ready to be added to a batch queue.