Appearance
Client Setup
1 min read
Rover ERP is accessed through a program that must be installed on each client computer. You can find the latest client installer here.
To install, download the client linked above and extract it. Double click on setup to begin the process and follow the instructions below.
NOTE: It is possible to use services like Microsoft Intune to automate installation of this application on your domain computers. Command-line Install Options
Installing the Rover Client
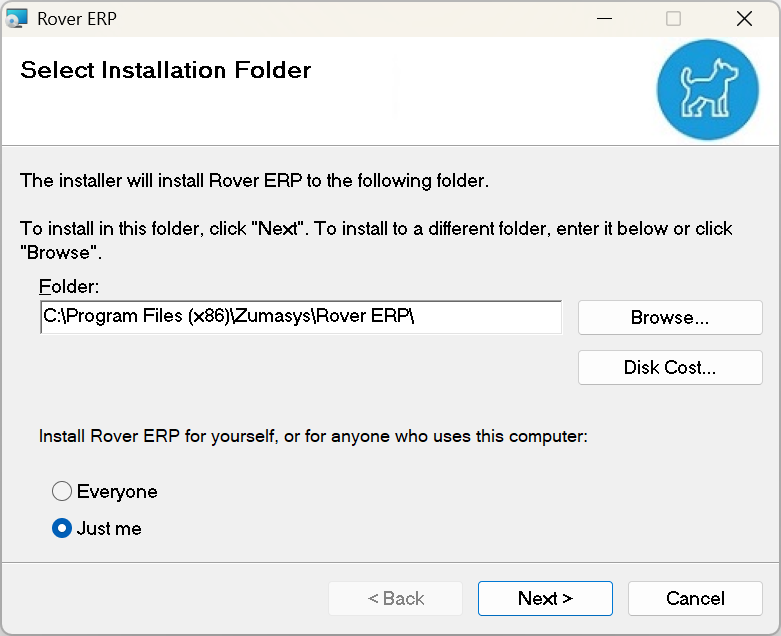
Select Installation Folder
Use the default installation path and select Everyone
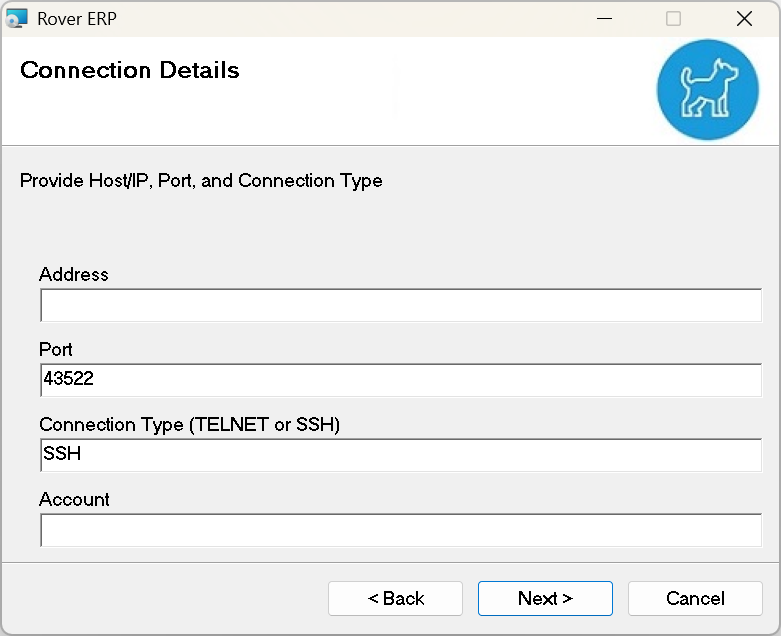
Connection Details
You will need to use the settings provided to you by our team.
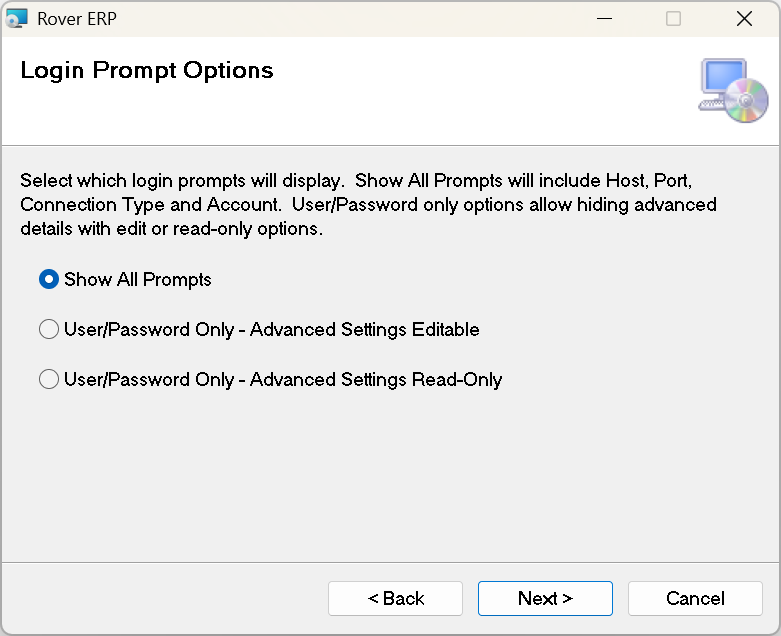
Login Prompt Options
These options determine which prompts display on the login screen, and whether Advanced Settings are editable.
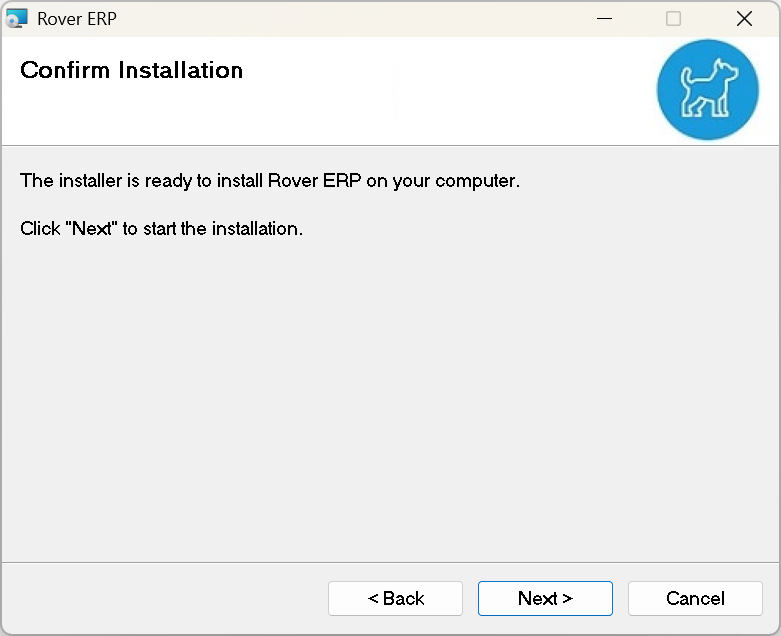
Confirm Installation
Press Next to begin the installation.
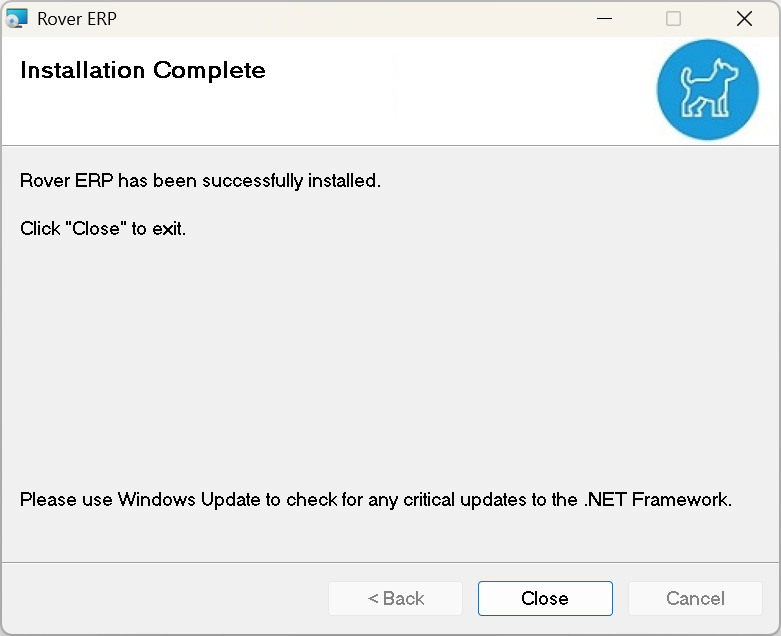
Installation Complete
Success! The client is now installed on your system. There should be a new icon on your desktop.
![]()
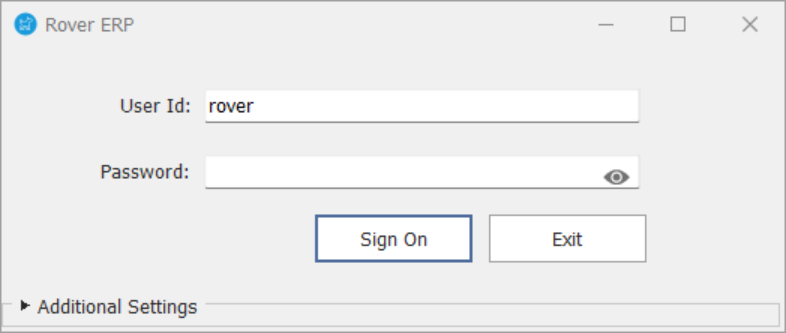
Running the Client
Double click the icon pictured above and you will be met with your configured login screen.