# Shopify Integration Setup
Read Time: 1 minute(s)
Use SHOPIFY.CONTROL to connect your Shopify store with Rover ERP. Rover currently supports importing orders from Shopify.
# Steps
- In Shopify, create a webhook for the
Order Creationevent. Shopify Documentation Here: Create a webhook (opens new window). - When prompted for the URL, use:
https://prod-api.rovererp.com/ShopifyOrderWebhook?OcpApimSubscriptionKey=<YOUR_SUBSCRIPTION_KEY>
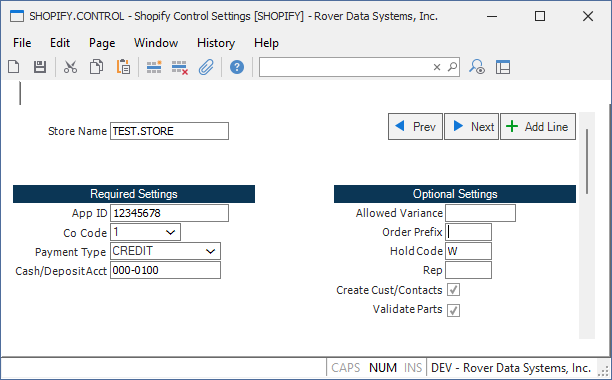
- Run SHOPIFY.CONTROL in Rover ERP and enter your configuration options. You can define multiple Shopify stores in Rover, each with its own configuration.
- App Id: The app ID from your Shopify app. This is unique to each store.
- Co Code: The company code for your Rover ERP instance.
- Payment Type: The payment type to use for imported orders as defined in AR.CONTROL.
- Cash/Deposit Account: The cash or deposit GL account to use for imported orders.
- Allowed Variance: Enter an allowed variance amount. If the total collected from Shopify differs from Rover and the difference is plus or minus this amount, it will not be flagged.
- Order Prefix: The prefix to use for imported orders. This is useful for identifying orders from Shopify in Rover.
- Hold Code: The hold code to use for imported orders. Leaving this blank will not put the order on hold.
- Rep: The sales representative to assign to imported orders.
- Create Cust/Contact: Check this box to create a customer and/or contact in Rover for each imported order if not found.
- Validate Parts: Check this box to only allow orders to be imported if all of the parts in the cart exist in Rover.
# Useful Tools
SHOPIFY.R1- Report to view successful and failed Shopify orders imported into Rover.SHOPIFY.P1- Allows for reprocessing of failed Shopify orders and maintenance of the Shopify queue.